I have a problem: I run several self-hosted services, but I don’t always trust the open-source, custom auth they come with. Most common open-source self-hosted applications just don’t have the funding and manpower to ensure their auth systems are secure.
#OIDC
A simple solution to this is to use OpenID Connect (OIDC). OIDC is a formalized approach to implementing single sign-on (SSO) across your services, so that they all use a single secure auth system instead of each application rolling their own. As a bonus, if you’re managing multiple users, OIDC makes it a lot easier to bulk grant/deny access across all your applications.
But, for an application to use OIDC, it has to support OIDC, and many of the smaller open-source self-hosted applications just don’t. So, in the meantime, what can you do?
#Authentik/Authelia
A common solution in the self-hosted community is to use tools like Authentik or Authelia. These tools are all-in-one solutions for LDAP, OIDC, MFA, and an auth reverse proxy.
Essentially, when Authentik/Authelia is configured as a reverse proxy, it sits in front of insecure applications, blocking access to the entire application until SSO is performed. You can think of it like a “wrapper” around insecure applications– any attacker must first authenticate via the SSO tool before they can even touch the application. In this configuration, the target application is “dumb” in the sense that it’s completely unaware it’s being wrapped, so it doesn’t need to be configured in any special way.
While Authentik and Authelia are really cool tools, they’re not always the best option:
- Authentik requires “A host with at least 2 CPU cores and 2 GB of RAM” which isn’t an option for me. (Though, Authelia has significantly lower requirements– “observed memory usage normally under 30 megabytes”)
- It can be overkill. Not everyone needs LDAP, MFA, etc.
- They seem to be primarily developed for homelabs and self-hosting environments, not corporate environments.
That being said, I still think they are fantastic applications that will satisfy many.
#OAuth2-Proxy
Instead of bundling LDAP, OIDC, MFA, and an auth reverse proxy into one application like the tools above, I chose to split these functions into smaller, simpler services (partly for the learning experience).
- LDAP: LLDAP is a great lightweight LDAP server, but I didn’t need it for my purposes.
- OIDC: Pocket ID is a simple OIDC provider that only supports passkeys.
- Auth Reverse Proxy: OAuth2-Proxy can connect to external OIDC providers (e.g., GitHub, Google, etc.) or self-hosted OIDC providers (e.g., Pocket ID).
OAuth2-Proxy is a lightweight reverse proxy and performs the “auth reverse proxy” role described above. It can be configured to work alongside a standard reverse web proxy (like nginx), or as a standalone reverse proxy.
So, how do these pieces fit together? Let’s walk through an example.
#1. Prepare Your Service
In our example, I’ll be using OAuth2-Proxy to protect umami, a simple web analytics server I run. Umami doesn’t provide OIDC authentication support, so it’s a good candidate for OAuth2-Proxy.
For all my self-hosted services, I use Docker Compose. I love Docker Compose because it’s simple, it containerizes everything nicely, it uses declarative configuration, and it’s almost always an option for self-hosted services. I’ve spent many years wrestling with Docker, and it has its weaknesses, but I’ve come to appreciate its many strengths.
Since we’re using Docker Compose, let’s start building our docker-compose.yml. What you see below is basically the default configuration for umami deployed via Docker, running two services: a primary container, and a postgres database.
yaml
services:
  umami:
    image: ghcr.io/umami-software/umami:postgresql-latest
    environment:
      DATABASE_URL: postgresql://umami:umami@db:5432/umami
      DATABASE_TYPE: postgresql
      APP_SECRET: "<SECRET>"
    depends_on:
      db:
        condition: service_healthy
    restart: always
    healthcheck:
      test: ["CMD-SHELL", "curl http://localhost:3000/api/heartbeat"]
      interval: 5s
      timeout: 5s
      retries: 5

  db:
    image: postgres:15-alpine
    environment:
      POSTGRES_DB: umami
      POSTGRES_USER: umami
      POSTGRES_PASSWORD: umami
    volumes:
      - umami-db-data:/path/to/umami/data
    restart: always
    healthcheck:
      test: ["CMD-SHELL", "pg_isready -U $${POSTGRES_USER} -d $${POSTGRES_DB}"]
      interval: 5s
      timeout: 5s
      retries: 5
(If you’re really following this tutorial, you’ll need to insert your own APP_SECRET.)
If you’ve used Docker Compose before, you might have noticed that we haven’t specified any ports. That’s because we don’t want umami to listen on our host– any traffic to umami will be going through OAuth2-proxy, which we’ll set up later.
#2. Setting Up OIDC
For OAuth2-Proxy to work, it needs an OIDC provider. You can use a third party like Google or Github, but I’ve chosen to self-host an OIDC provider called Pocket ID, which is “A simple and easy-to-use OIDC provider that allows users to authenticate with their passkeys to your services”. Pocket ID is really simple to set up– just add this configuration:
yaml
services:

  ...<existing services>...

  pocket-id:
    image: stonith404/pocket-id
    restart: unless-stopped
    environment:
      - PUBLIC_APP_URL=https://id.example.com
      - TRUST_PROXY=true
      - MAXMIND_LICENSE_KEY=""

      # PUID/PGID should match UID/GID of user that owns the Docker volume (see below)
      - PUID=1000
      - PGID=1000
    ports:
      - "127.0.0.1:3010:80"
    volumes:
      - "<LOCAL PATH>/pocket-id/data:/app/backend/data"
(Make sure to replace https://id.example.com with your actual domain, and <LOCAL PATH> with somewhere to store your Pocket ID data.)
At this point, you should follow the Pocket ID setup instructions to create an administrator account and set up your passkeys.
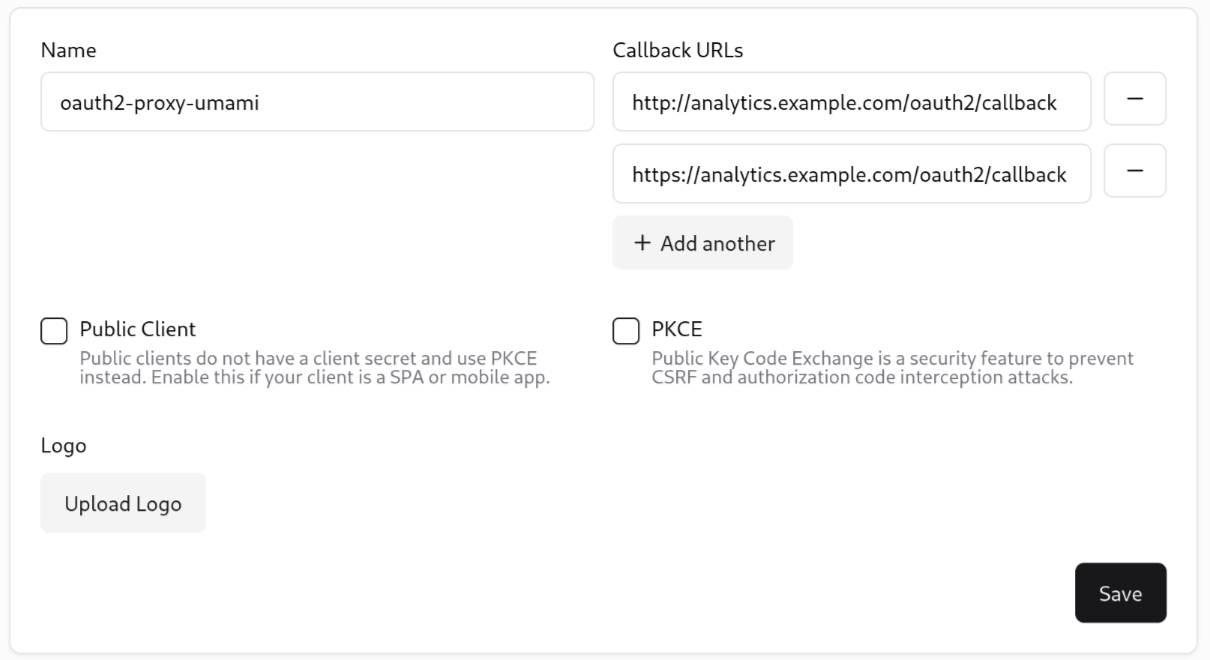
Then, since Pocket ID will provide OIDC for OAuth2-Proxy, we need to create a new “OIDC client” in the Pocket ID web UI.

Once you’ve created the client, leave this tab open, because you’ll need the client ID and client secret for the next step.
#3. Setting Up OAuth2-Proxy
OAuth2-Proxy can be used in two main ways:
- Target application(s) listen on host port. A single OAuth2-Proxy container is used as an nginx auth provider to protect any/all target application(s).
- You only need 1 OAuth2-Proxy container, but requires a complicated nginx and OAuth2-Proxy configuration.
- Target application does not listen on host port. Instead, it runs alongside a single-purpose OAuth2-Proxy container that provides auth for only that application.
- You’ll need multiple OAuth2-Proxy containers if you’re running multiple services, but configuration is significantly simplified.
If you’ve been following along, you know we’re going for strategy #2. So, to protect umami with OAuth2-Proxy, we just add another service.
yaml
services:

  ...<existing services>...

  oauth2-proxy:
    image: quay.io/oauth2-proxy/oauth2-proxy:latest
    command: --config /oauth2-proxy.cfg
    restart: unless-stopped
    ports:
      - "127.0.0.1:4180:4180"
    volumes:
      - "./oauth2-proxy.cfg:/oauth2-proxy.cfg"
I’ve chosen to configure oauth2-proxy using a configuration file that gets mounted inside the container (environment variables are another option). Let’s look at that configuration file:
toml
# Replace with your own credentials
client_id = "<CLIENT_ID>"
client_secret = "<CLIENT_SECRET>"
oidc_issuer_url = "https://id.example.com"

# Replace with a secure random string
cookie_secret = "<32 BIT SECRET>"

# Upstream servers
upstreams = "http://umami:3000"

# Ignore auth for these URLs
skip_auth_routes = [".*/script.js", ".*/api/send"]

# Additional Configuration
provider = "oidc"
scope = "openid email profile groups"

# If you are using a reverse proxy in front of OAuth2 Proxy
reverse_proxy = true

# Email domains allowed for authentication
email_domains = "*"
insecure_oidc_allow_unverified_email = "true"

# If you are using HTTPS
cookie_secure = "true"

# Listen on all interfaces
http_address = "0.0.0.0:4180"
(Be sure to replace client_id/client_secret with your respective values you generated when setting up Pocket ID, and set a cookie_secret.)
This configuration connects to umami (see upstreams) and Pocket ID (see oidc_issuer_url). Since we need umami’s script.js and /api/send to be available to anyone on the Internet, we exclude them from OAuth2-Proxy’s authentication (see skip_auth_routes).
#4. Point Subdomains
Since Pocket ID and OAuth2-Proxy are only available on localhost, you should now use nginx or your reverse web proxy of choice to do the following:
- Set up a wildcard TLS certificate for
*.example.com. - Point
https://id.example.comtolocalhost:3010 - Point
https://analytics.example.comtolocalhost:4180
(If you don’t know how to do this, sorry, I won’t explain it– it’s simply outside the scope of this article.)
#Tying It All Together
Now, by simply running docker compose up -d in the same directory you created your docker-compose, you should spin up 4 services:
- Umami
- Umami’s postgres database
- Pocket ID (with an open port on
localhost:3010) - OAuth2-Proxy (with an open port on
localhost:4180)
#The Final Flow
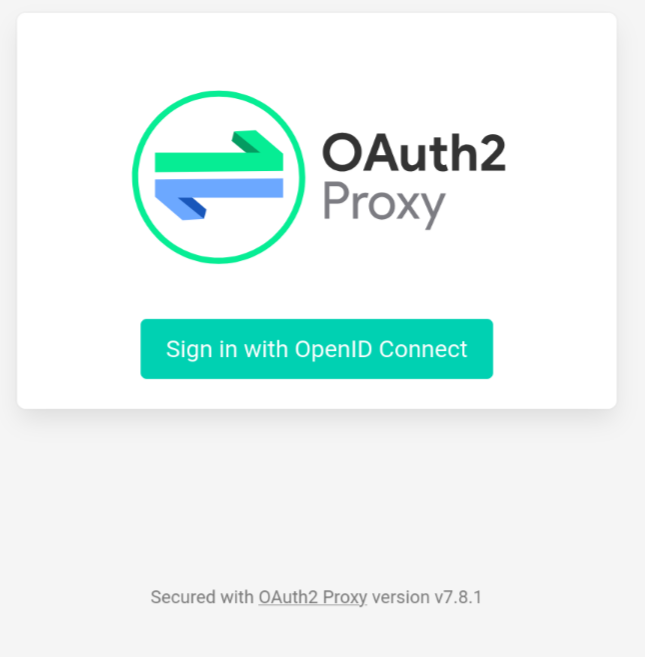
At this point, you should be able to reach https://analytics.example.com, and see the OAuth2-Proxy login page:

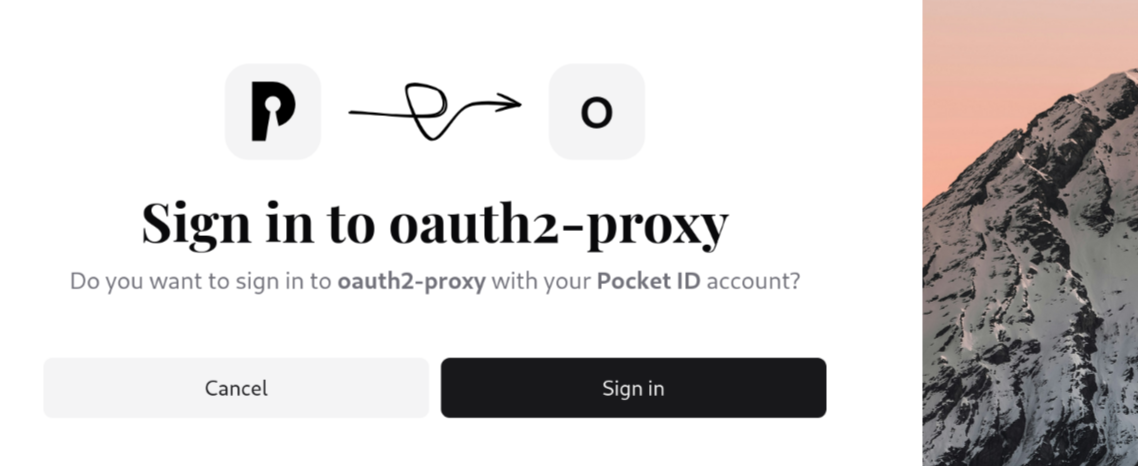
Clicking Sign in with OpenID Connect should redirect you to Pocket ID:

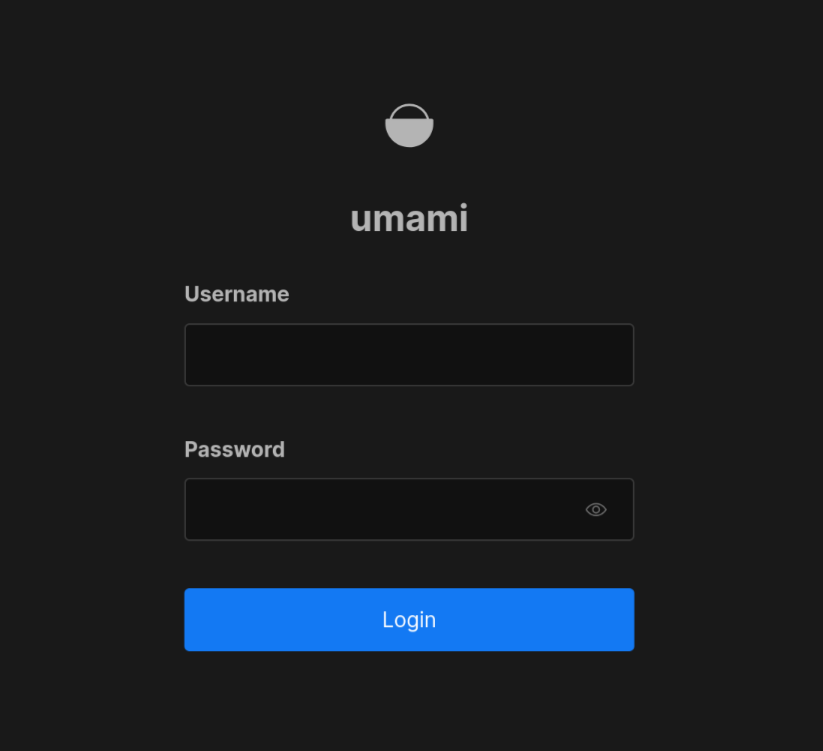
Once you sign in with your passkey you set up earlier, you should get redirected to umami. You’ll be presented with the umami login page:

Wait, why do we have another login page? Didn’t we set up all this to protect umami’s auth in the first place?
Well, remember that when you use OAuth2-Proxy to “wrap” an application, that application is unaware it’s being wrapped. Some people just disable the application’s native auth, or you can leave it as a 2nd login page (a slight annoyance for some).
The final flow looks something like this:
https://analytics.example.com –> OAuth2-Proxy container:4180 –> (https://id.example.com) –> umami container:3000
#Conclusion
I hope you learned something! OIDC and SSO can feel like nebulous concepts, but when you pick simple tools like Pocket ID and OAuth2-Proxy, protecting your applications is very approachable.
In the future, I may skip all this and use an all-in-one solution like Authelia. Regardless, I love the simplicity of OAuth2-Proxy, and it’s a great tool for situations like these.